

Not sure where to find your xpub? See Find your xpub for Sparrow, BlueWallet, and Blockstream.
Track a wallet
- Select Add Account → Track Balance, ETF, or xpub.
-
Select xpub or Descriptor.
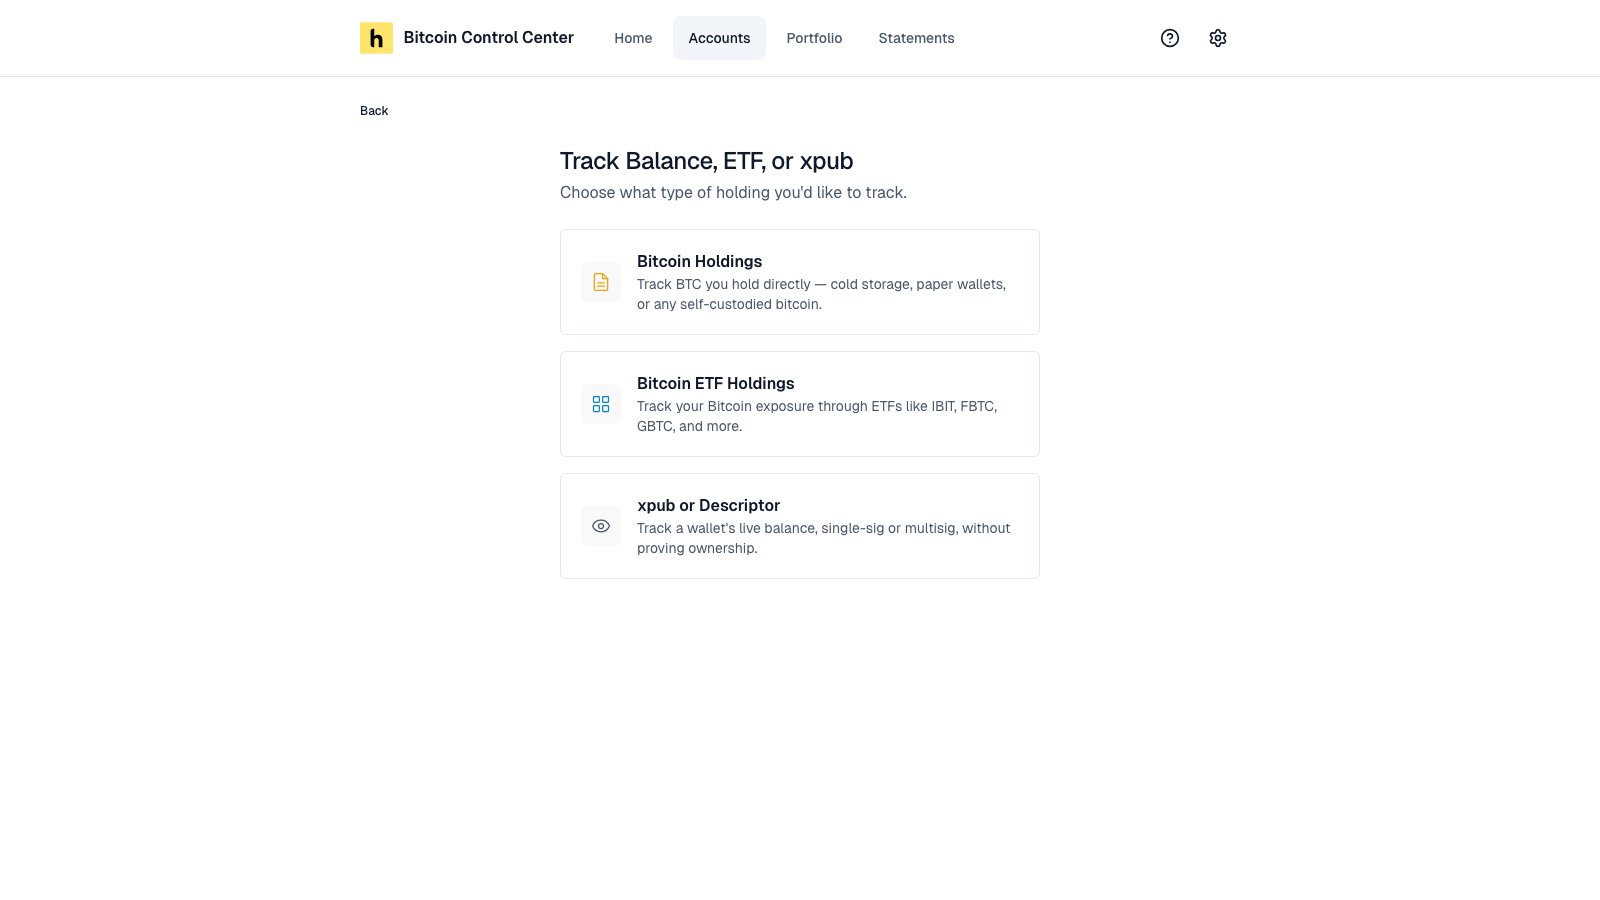
Track a wallet, a manual holding, or ETF shares.
- Enter a Display Name.
- Paste the xpub or Descriptor. Control Center shows what it found, such as “Single-sig, Native SegWit (P2WPKH)” or “Multisig, 2 of 3”.
-
If you pasted a plain
xpub, pick the Script Type. - Select Track Wallet.
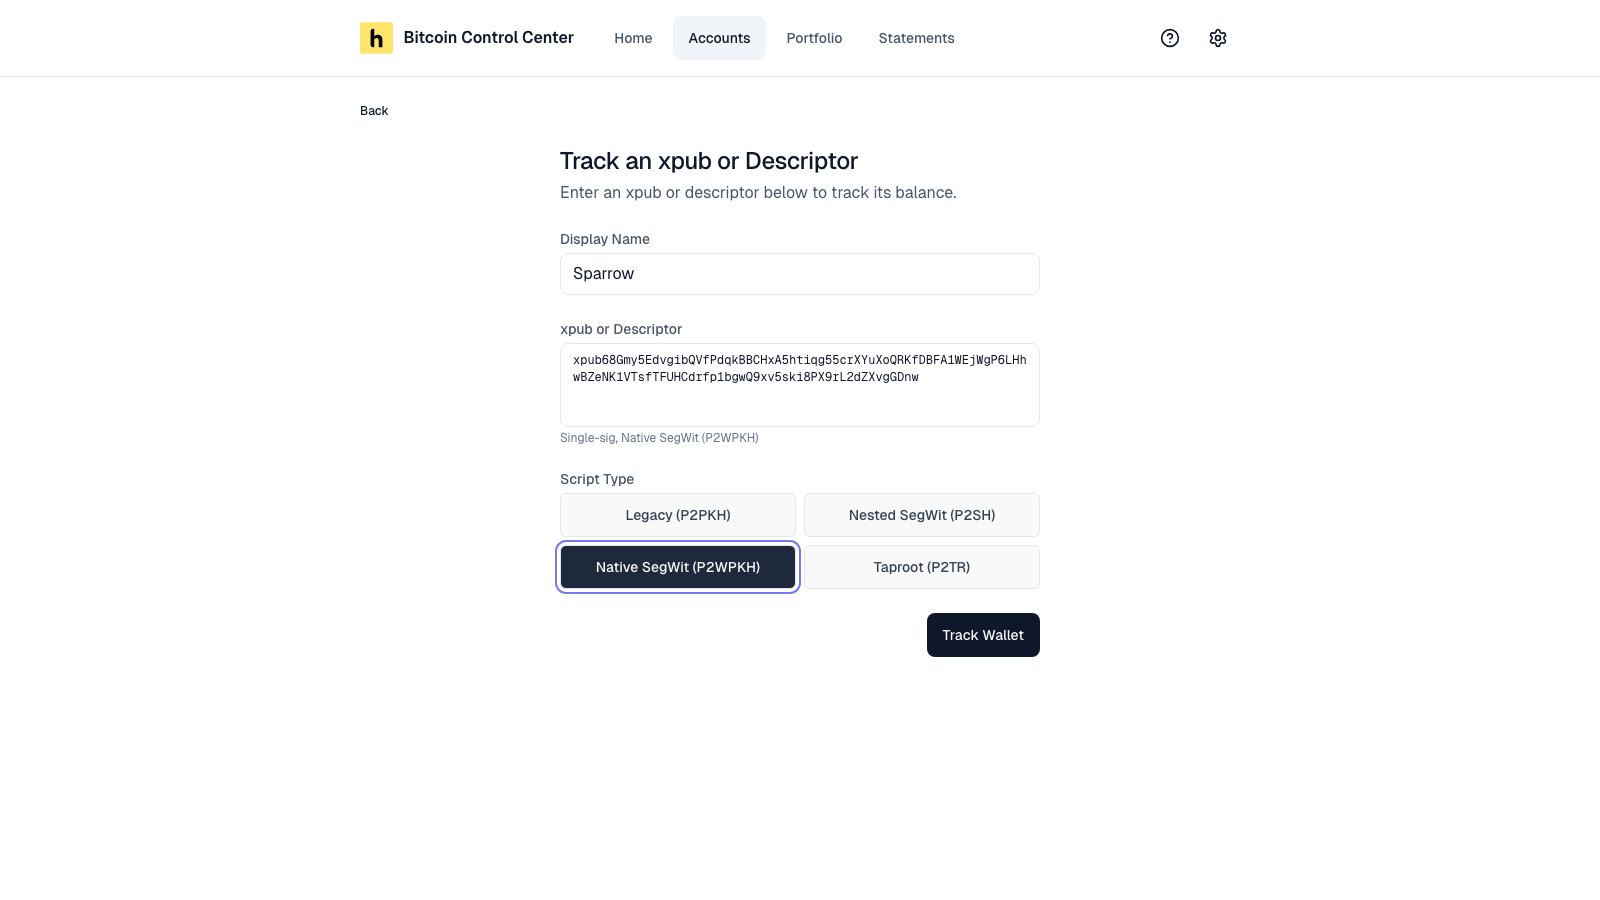
Paste an xpub or descriptor. Pick the script type for a plain xpub.
What you can track
Control Center won’t track a descriptor it would read as a different wallet. For example, a Taproot script path, a single address, or a branch other than receive and change. A single multisig cosigner’s key, such as one
Zpub, isn’t a wallet on its own.
Already have this wallet in Control Center? You go to the existing account instead. If it was pending, it becomes Unverified, since you chose to track it.
To verify a tracked wallet later, see Verify a tracked wallet later.
Manually sign to verify
Use this to put a single-signature wallet on a statement when Control Center can’t connect to it. You sign a message yourself in your wallet software.- Select Add Account → Manually Sign.
- Enter a Display name.
- Paste an account descriptor or extended public key.
- If you pasted an
xpub, pick the script type. - Select Add Account.
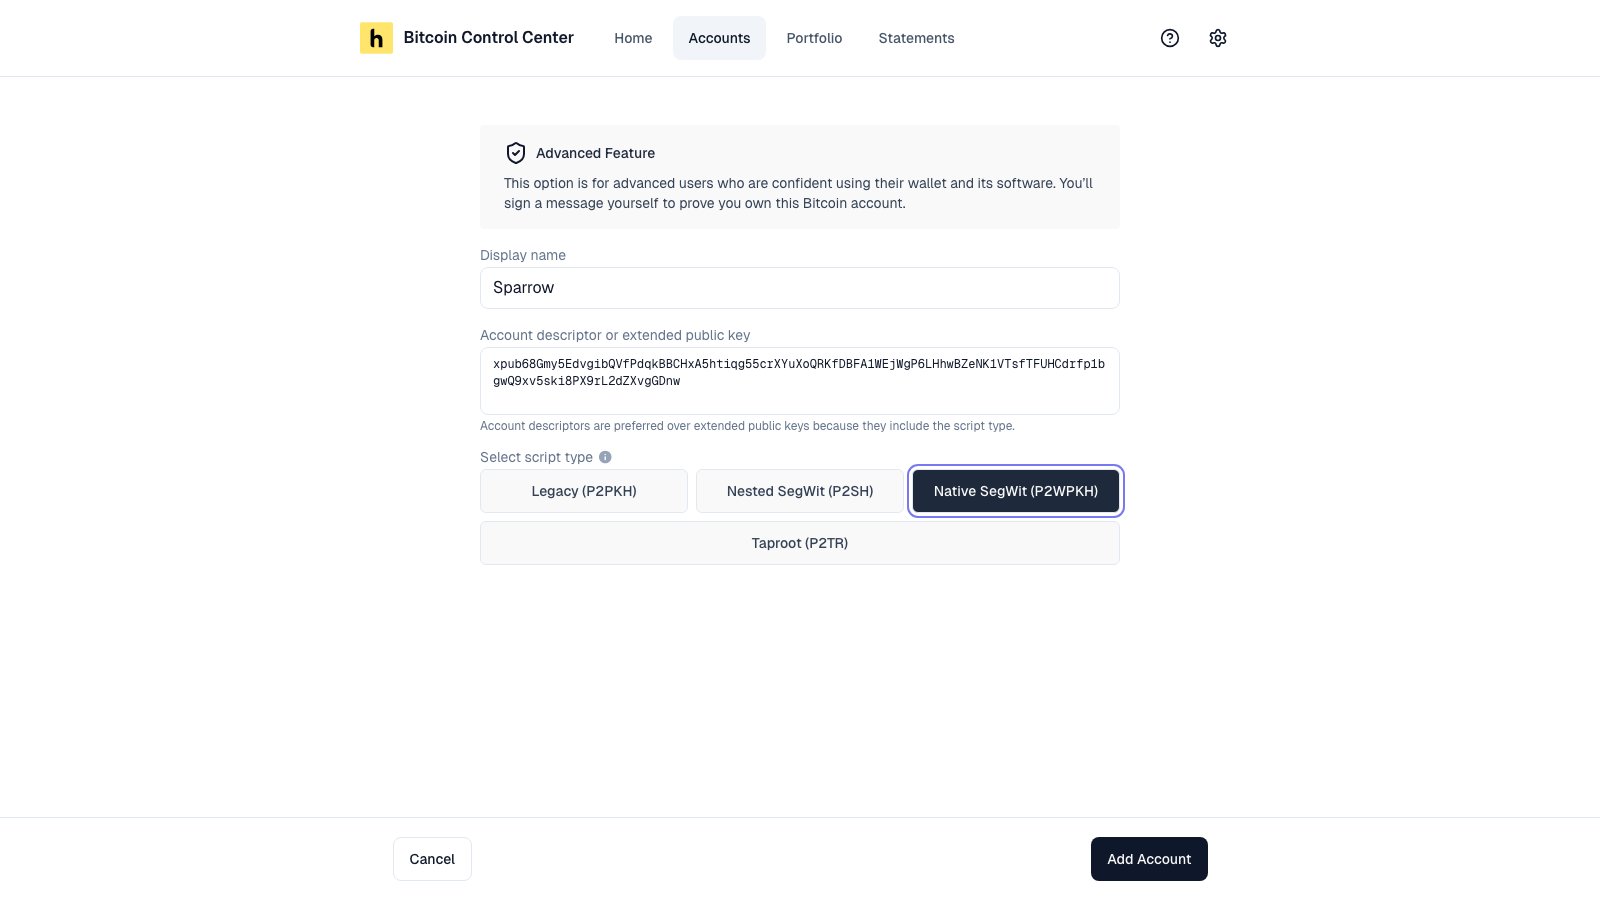
Paste a descriptor or xpub. Pick the script type for an xpub.
What you can paste
Which script type?
Match the start of your receive addresses.
A plain
xpub starts on Legacy (P2PKH). Change it if your addresses don’t start with 1.
Balance is zero after adding? You picked the wrong type. Going back adds a second account; it doesn’t fix the first. Open the wrong account, select Abandon, and add the wallet again.
Sign the message
- Copy the Address and Message.
- Sign the message with that address in your wallet software. See Sign a message in your wallet.
- Paste the signature. Select Verify.
Limits
- Manually Sign is single-signature only. To verify a multisig wallet, see Multisig.
- Mainnet only on packaged apps.
- Never paste an
xprvor a seed phrase. Control Center only needs public keys.
Pasted a private key?
Control Center refuses extended private keys, such asxprv, yprv, zprv, or tprv. That includes a descriptor with one anywhere inside it.
Pasted a multisig descriptor into Manually Sign? You see the same Invalid input message. Use Multisig instead.
Export the wallet’s public key or watch-only descriptor instead. See Find your xpub.