

1. Set your PIN
Choose 6 digits, then enter them again. On Your PIN is set, select Continue. See PIN and lock.2. The introduction
A short introduction appears the first time. It shows sample data, not yours.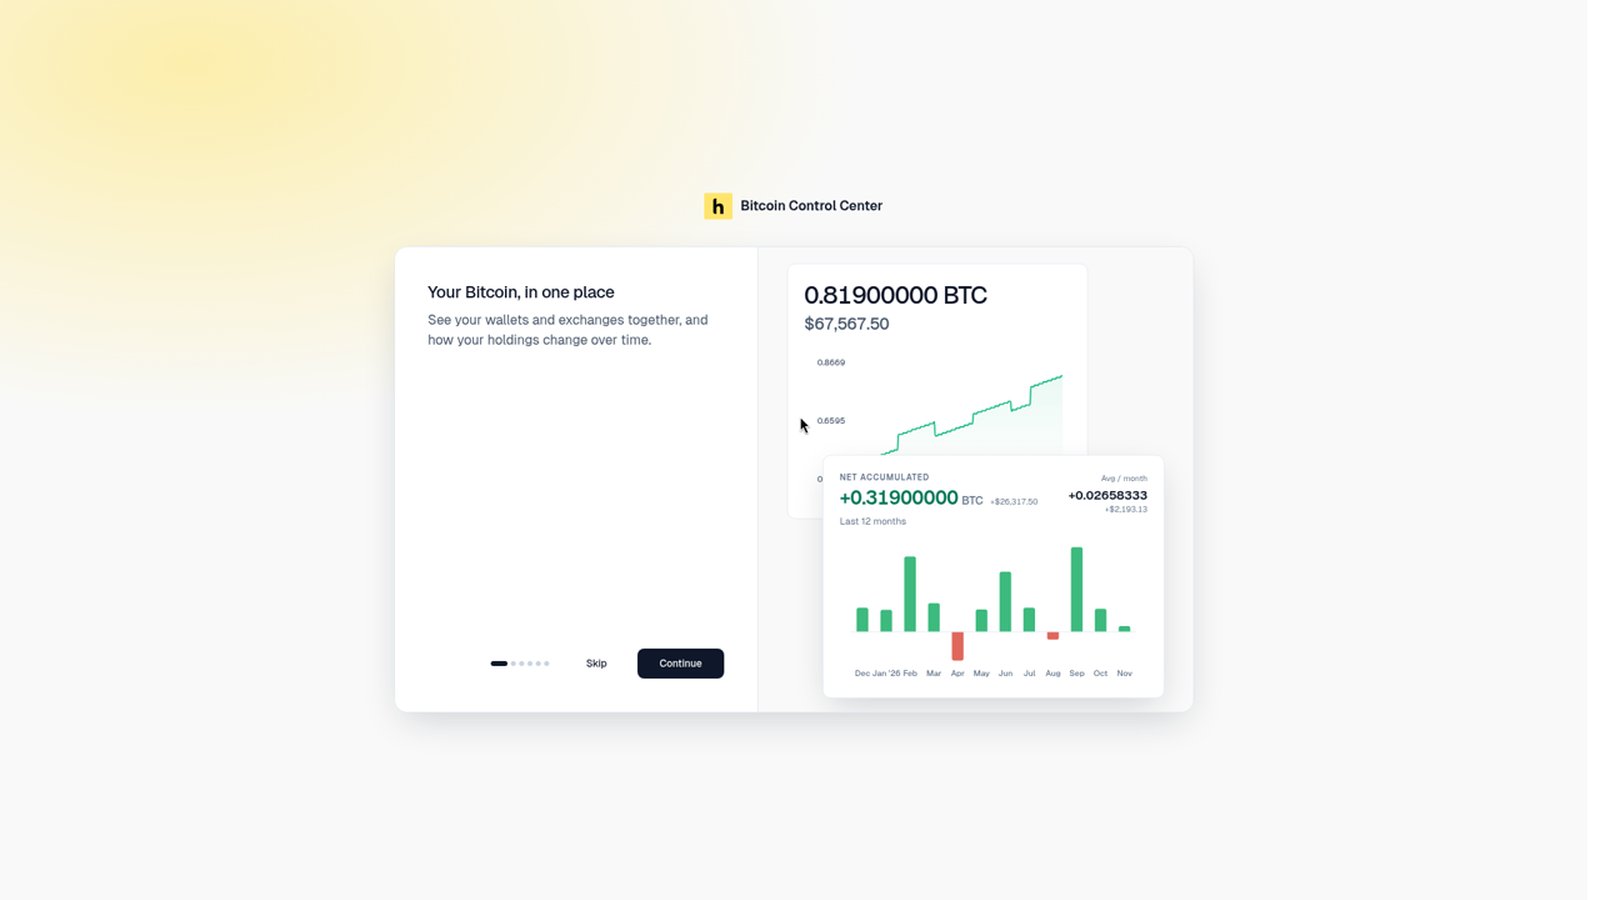
The first-run introduction. Select Skip or Continue.
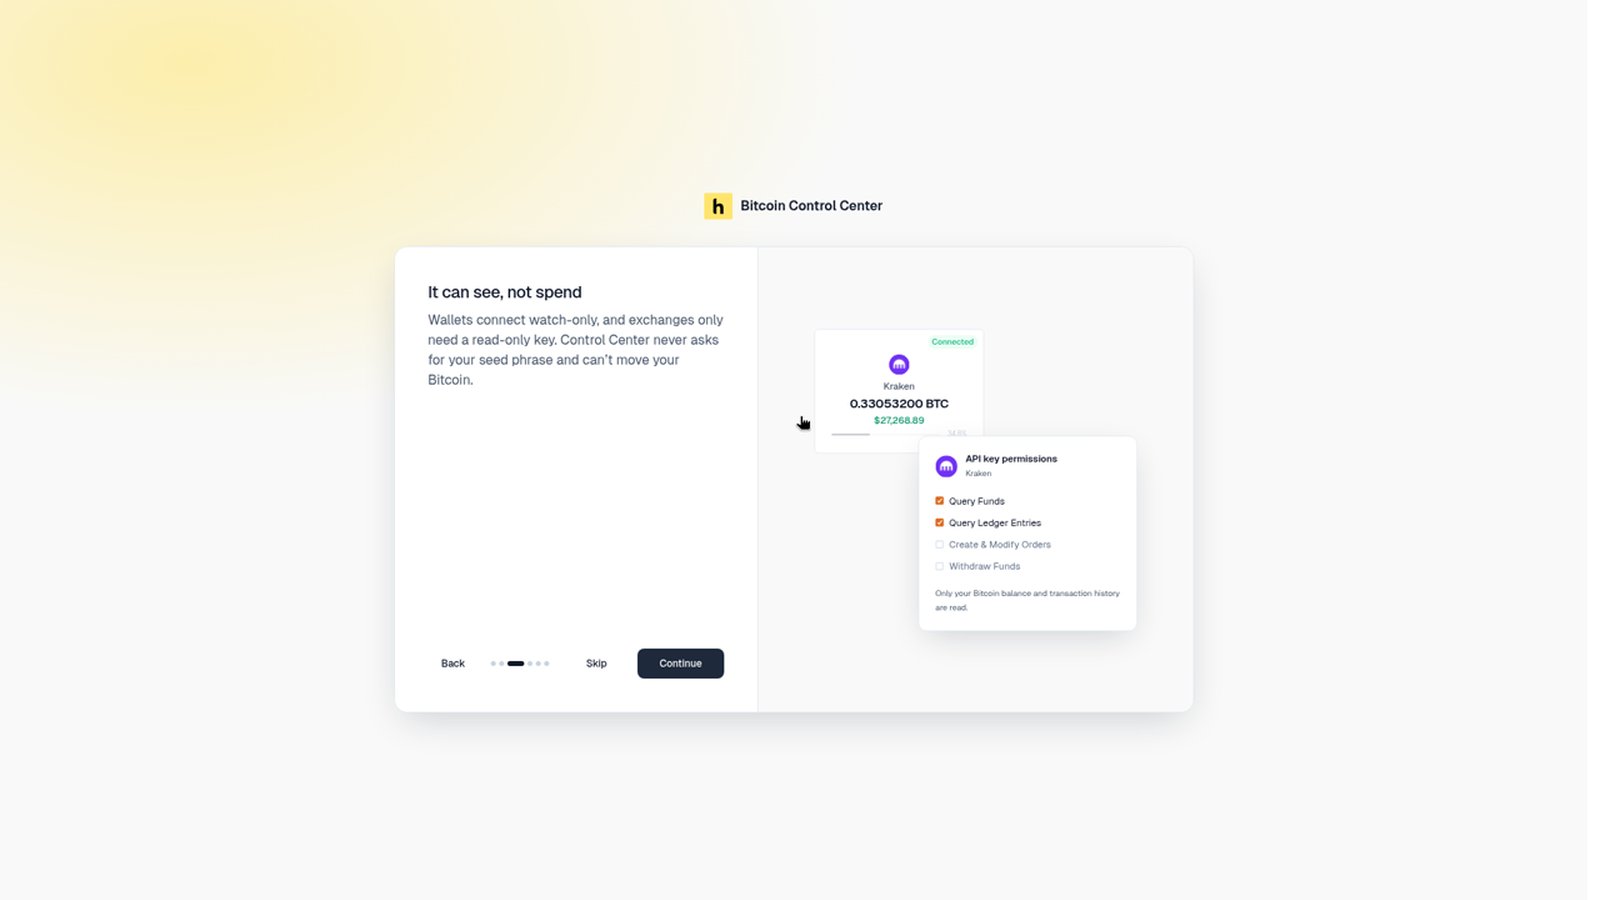
Wallets connect watch-only. Exchanges only need a read-only key.
- Your Bitcoin, in one place.
- Bring in what you already use. Connect a hardware wallet, multisig, exchange, or enter holdings yourself.
- It can see, not spend. Wallets connect watch-only. Exchanges only need a read-only key.
- Your data stays with you. Your history is saved on this computer, or on your server.
- Choose your Electrum server. Desktop only. See step 3.
- Start with one account. Have your hardware wallet, a read-only API key from your exchange, or just your balance to enter by hand.
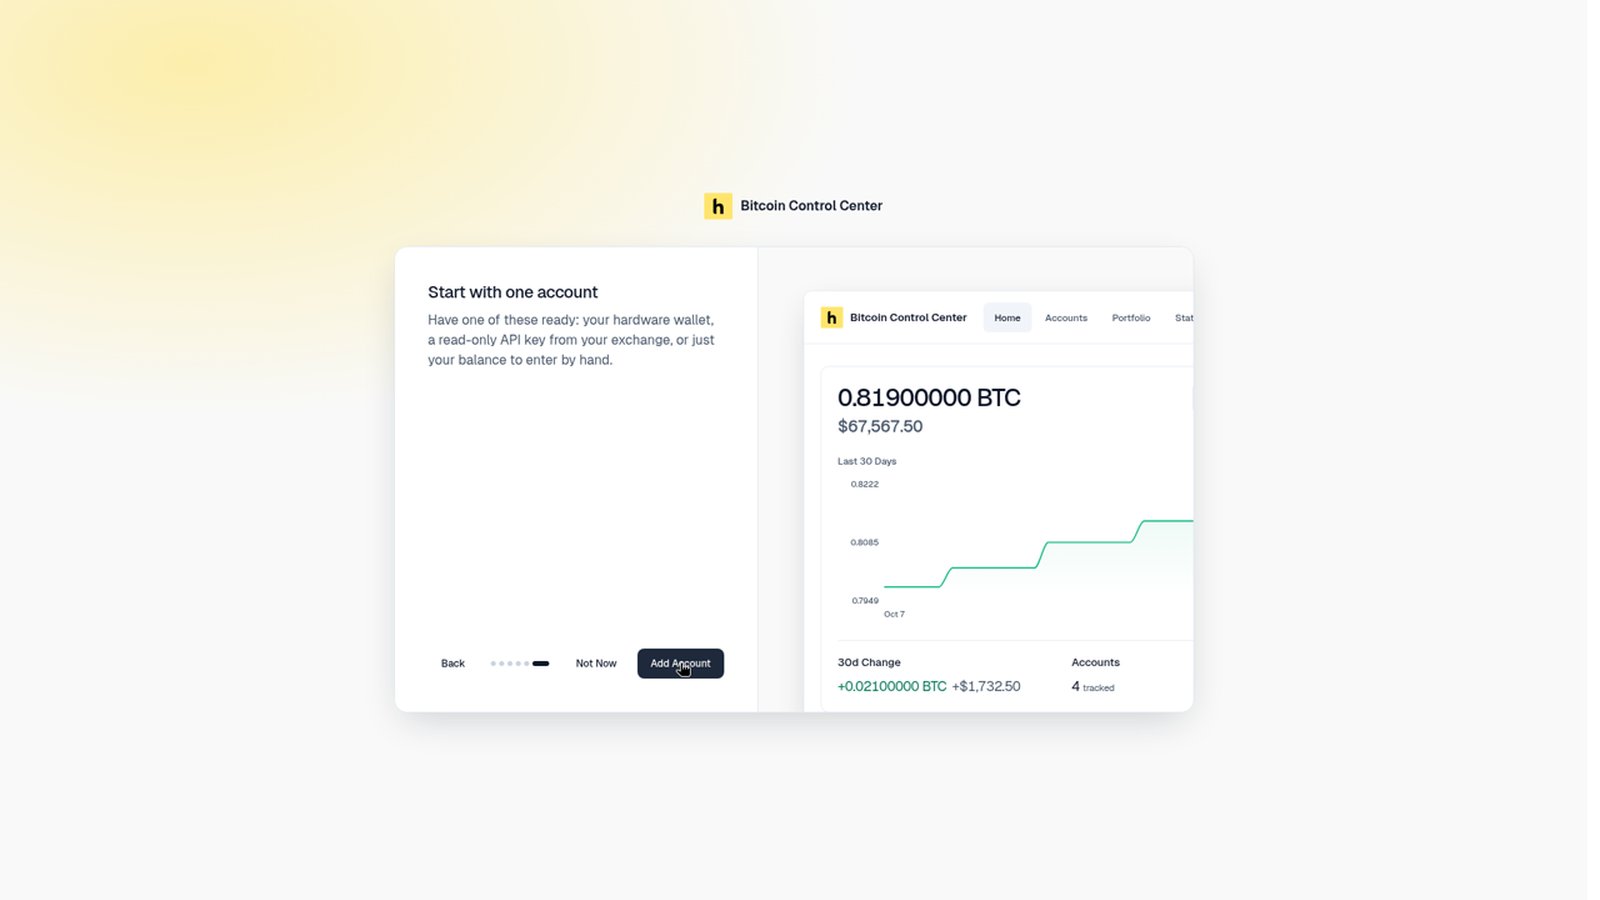
The last step takes you to Add Account.
3. Choose an Electrum server (desktop)
Control Center reads wallet balances from an Electrum server. Whoever runs it can see which addresses are yours and your IP address. On desktop, the introduction asks before you add an account. StartOS always uses your own Electrs, so there is no server step. Your choice only applies when you select Continue or Connect. Select Skip before that, and you stay on Blockstream’s public server without Tor, even if you turned on Connect via Tor. To switch, see Change it later.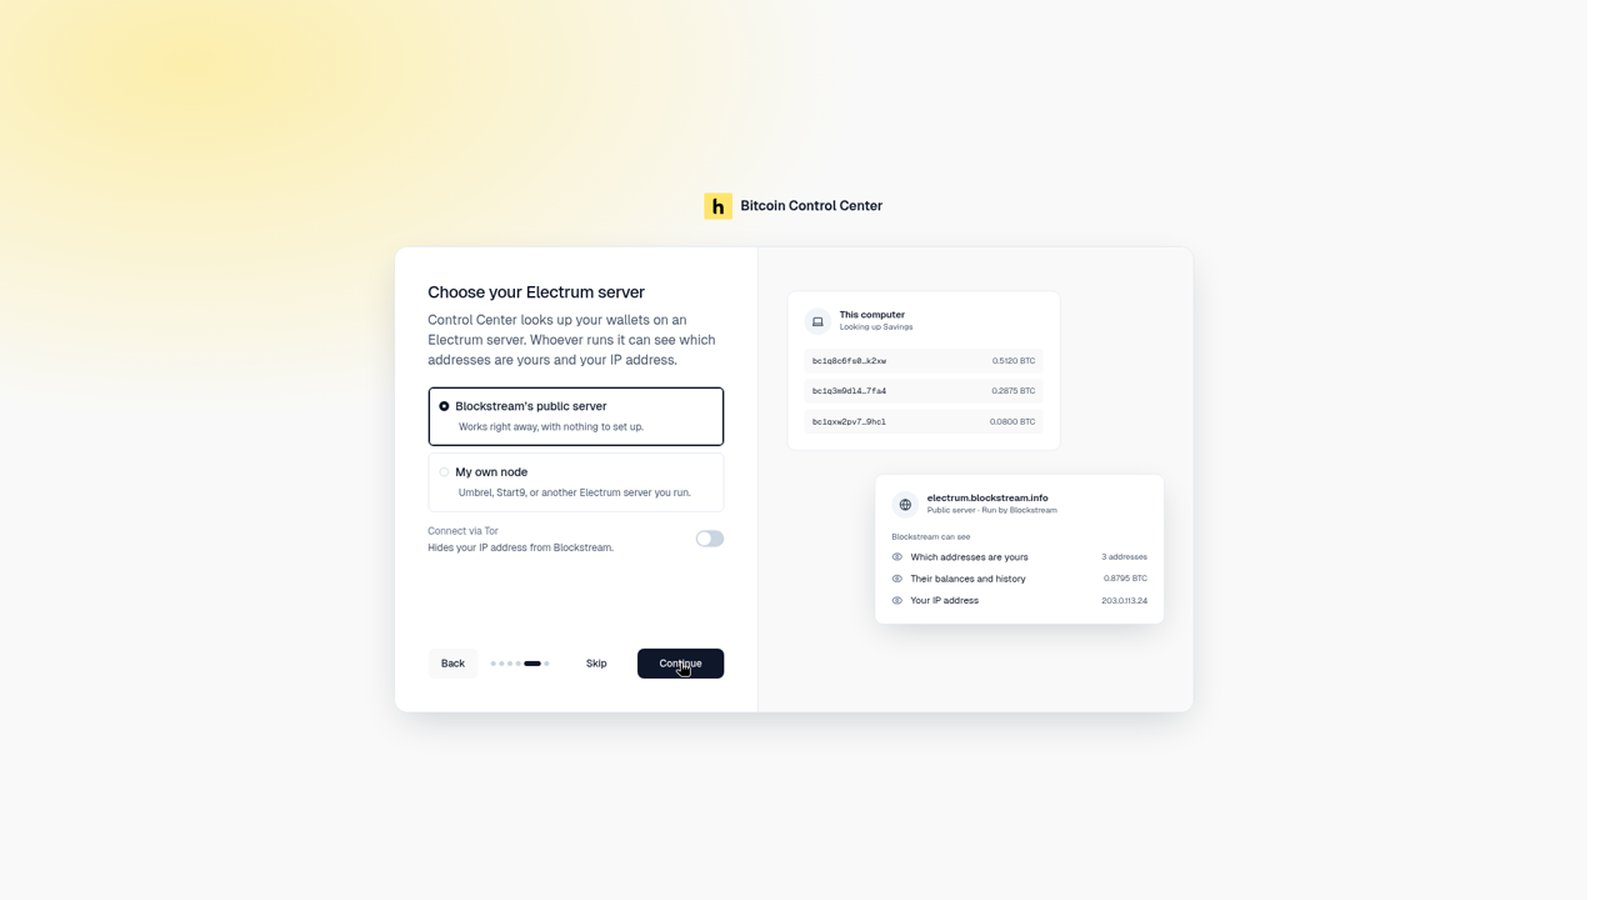
Pick Blockstream's public server or your own node.
Blockstream’s public server
It’s selected to start. It works right away, with nothing to set up.- Optional: turn on Connect via Tor to hide your IP address from Blockstream. Tor can take a minute to start. Blockstream still sees your addresses.
- Select Continue.
My own node
- Select My own node. Select Continue.
- On Connect your node, enter the Address, such as
mynode.localor192.168.1.20. Find it in your node’s Electrum server app, such as Electrs or Fulcrum. - Use the Port and Protocol your node’s Electrum app shows. The form starts on SSL and
50002. Many home nodes use TCP on50001. - For a
.onionaddress, turn on Connect via Tor and use TCP. - Select Connect. When it works, you see Connected to your node and move to the next step.
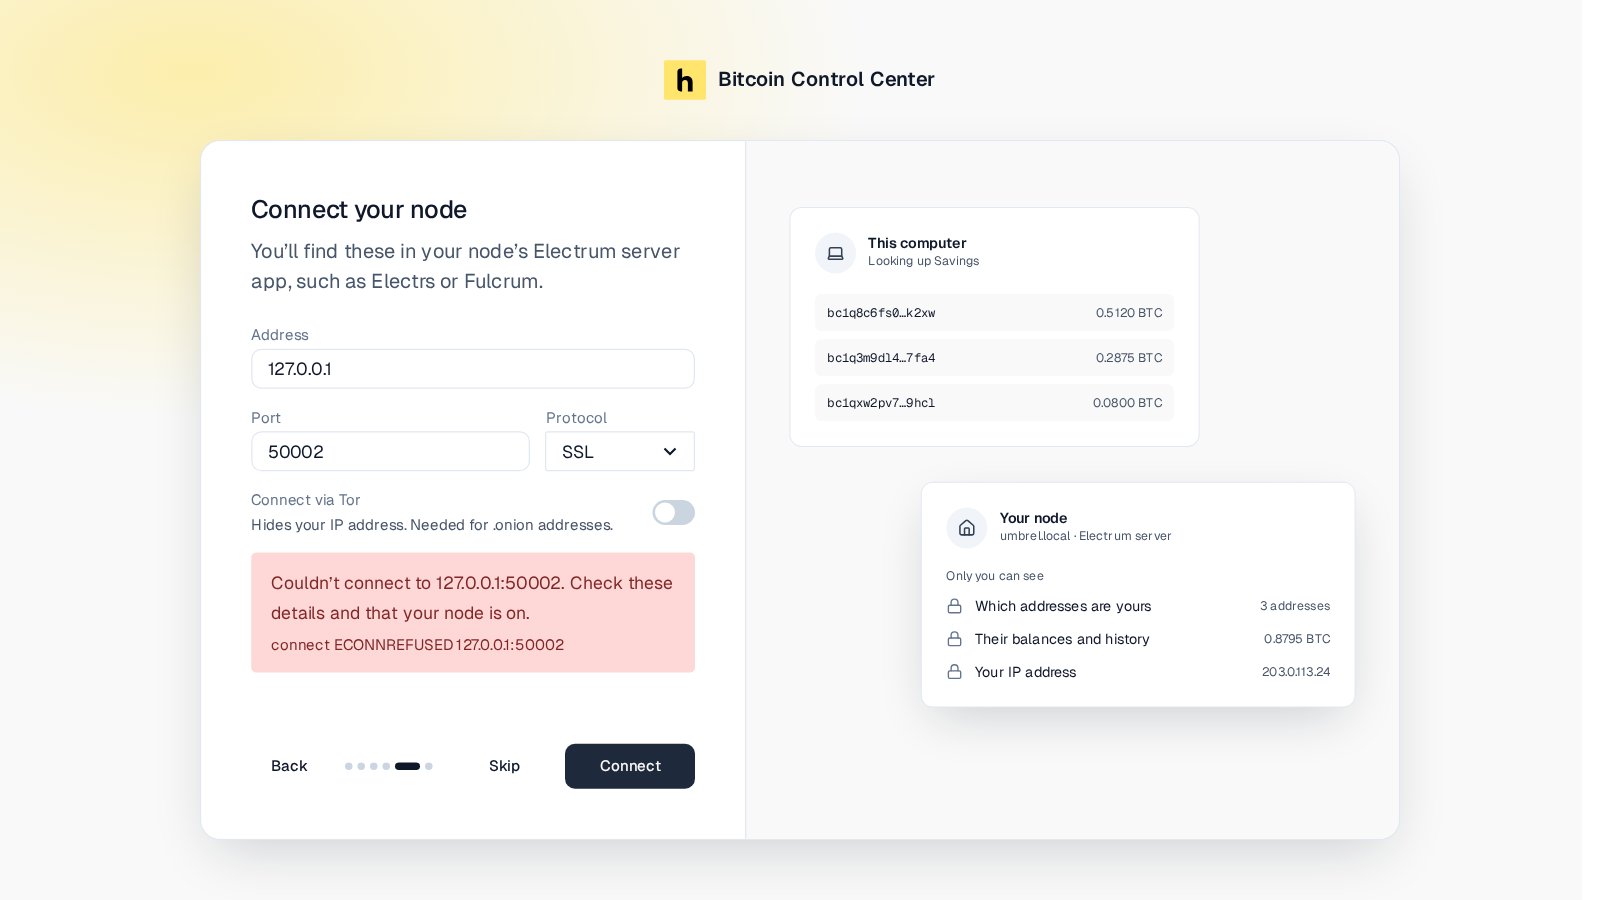
Enter your node's Electrum address, port, and protocol.
Your node is saved as My node in Settings. You can rename it there.
Changed your mind? Select Back. Pick Blockstream’s public server. Select Continue. My node stays saved in Settings.
Choosing Connect via Tor or your own node here also sets Statement data to Configured Electrum server. Change it in Settings.
While you use the public server
A strip above the header says Want more privacy? Look up your wallets on your own node. Select Connect your node to open Electrum settings. It goes away once you connect another server, or when you close it. The strip still shows with Connect via Tor on. Tor hides your IP address, but Blockstream still sees your addresses.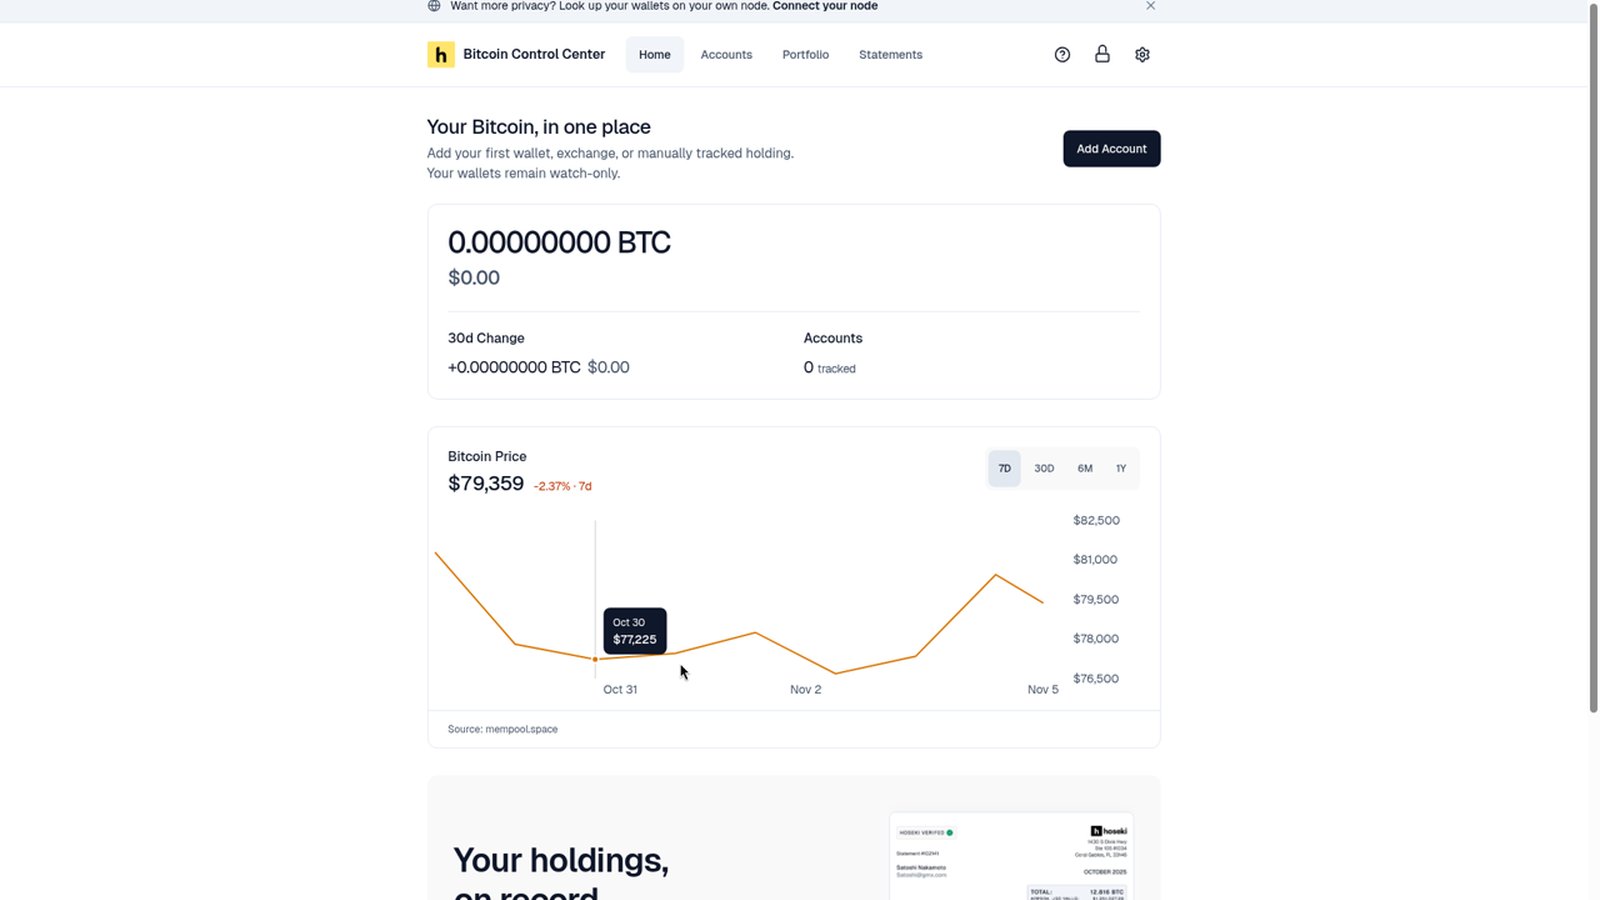
The strip while you're on Blockstream's public server.
Change it later
- Open Settings (gear icon, top right).
- Under Electrum Server, select New connection.
- Enter a Name, Host, Port, and Protocol.
- Select Test Connection. Then select Save & Connect.
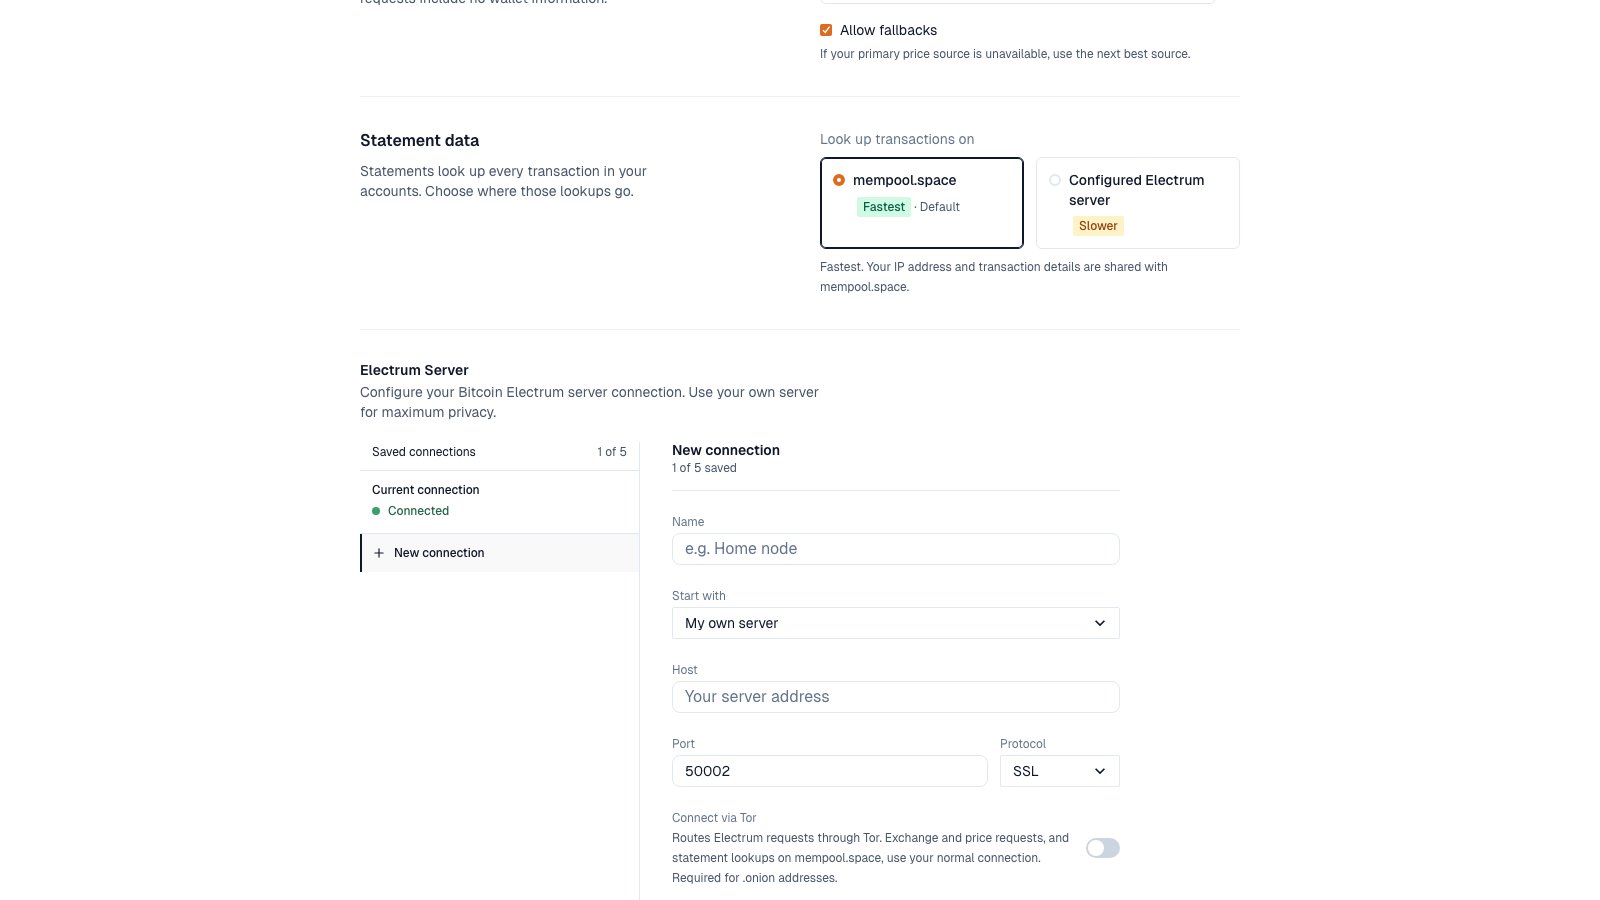
Add a saved connection in Settings.
- Protocol: use SSL for a public server. TCP is not encrypted, so use it only on your own network or for a
.onionaddress (Tor encrypts it). - Connect via Tor: required for
.onionaddresses. Tor can take up to two minutes to start the first time.
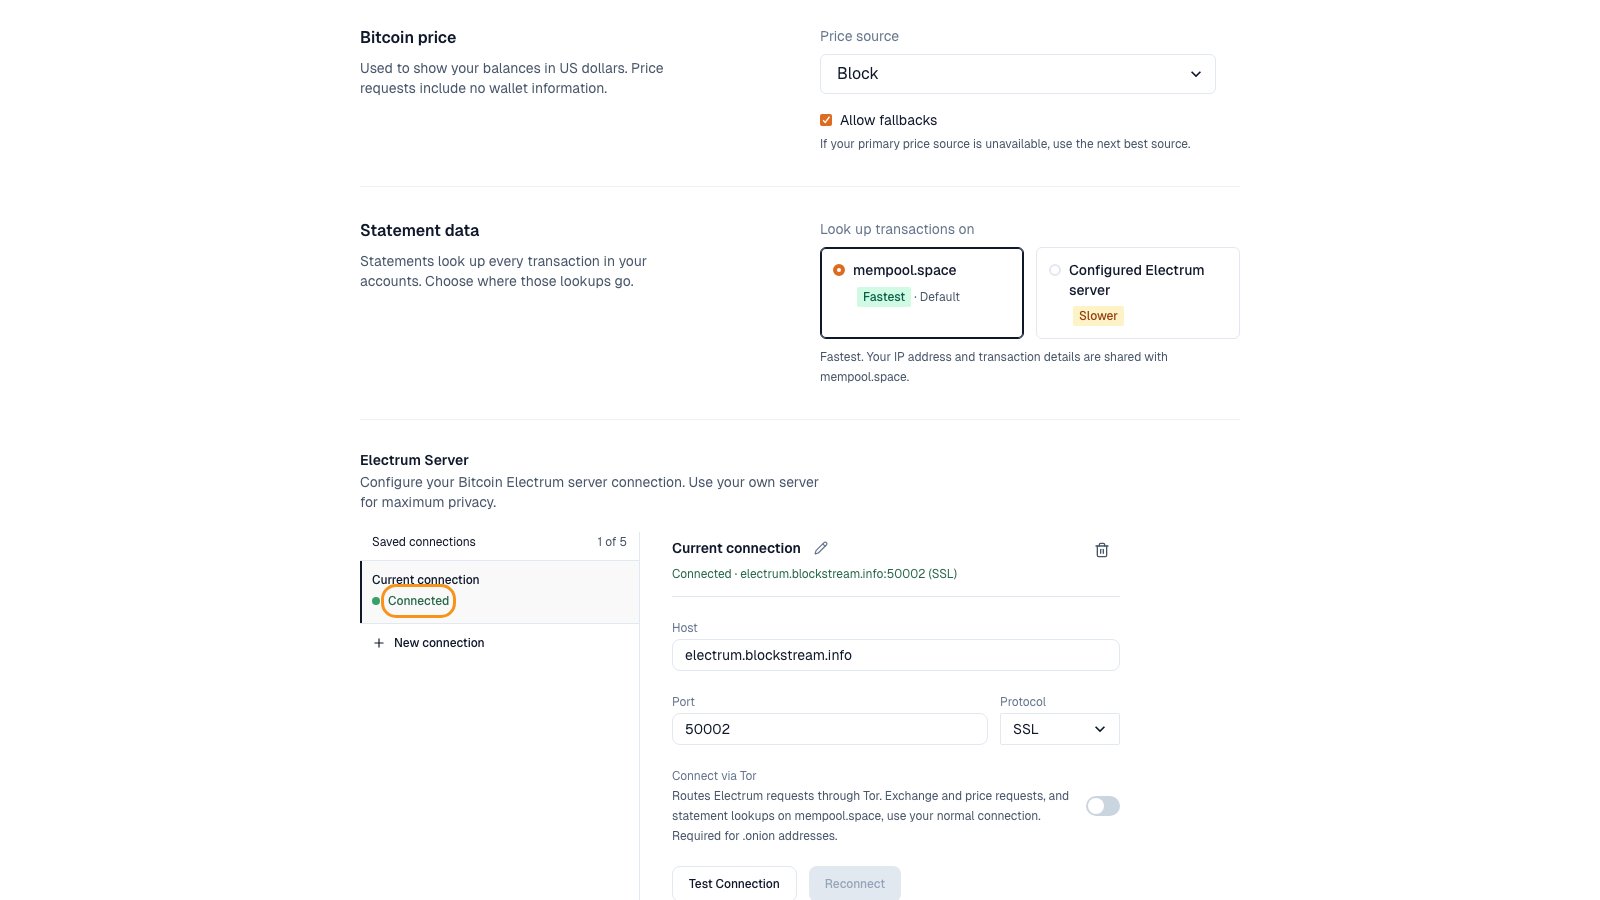
Connected.
4. Add your name
Open Settings. Under Personal information, enter Your name. Select Save name. It pre-fills the name on new statements.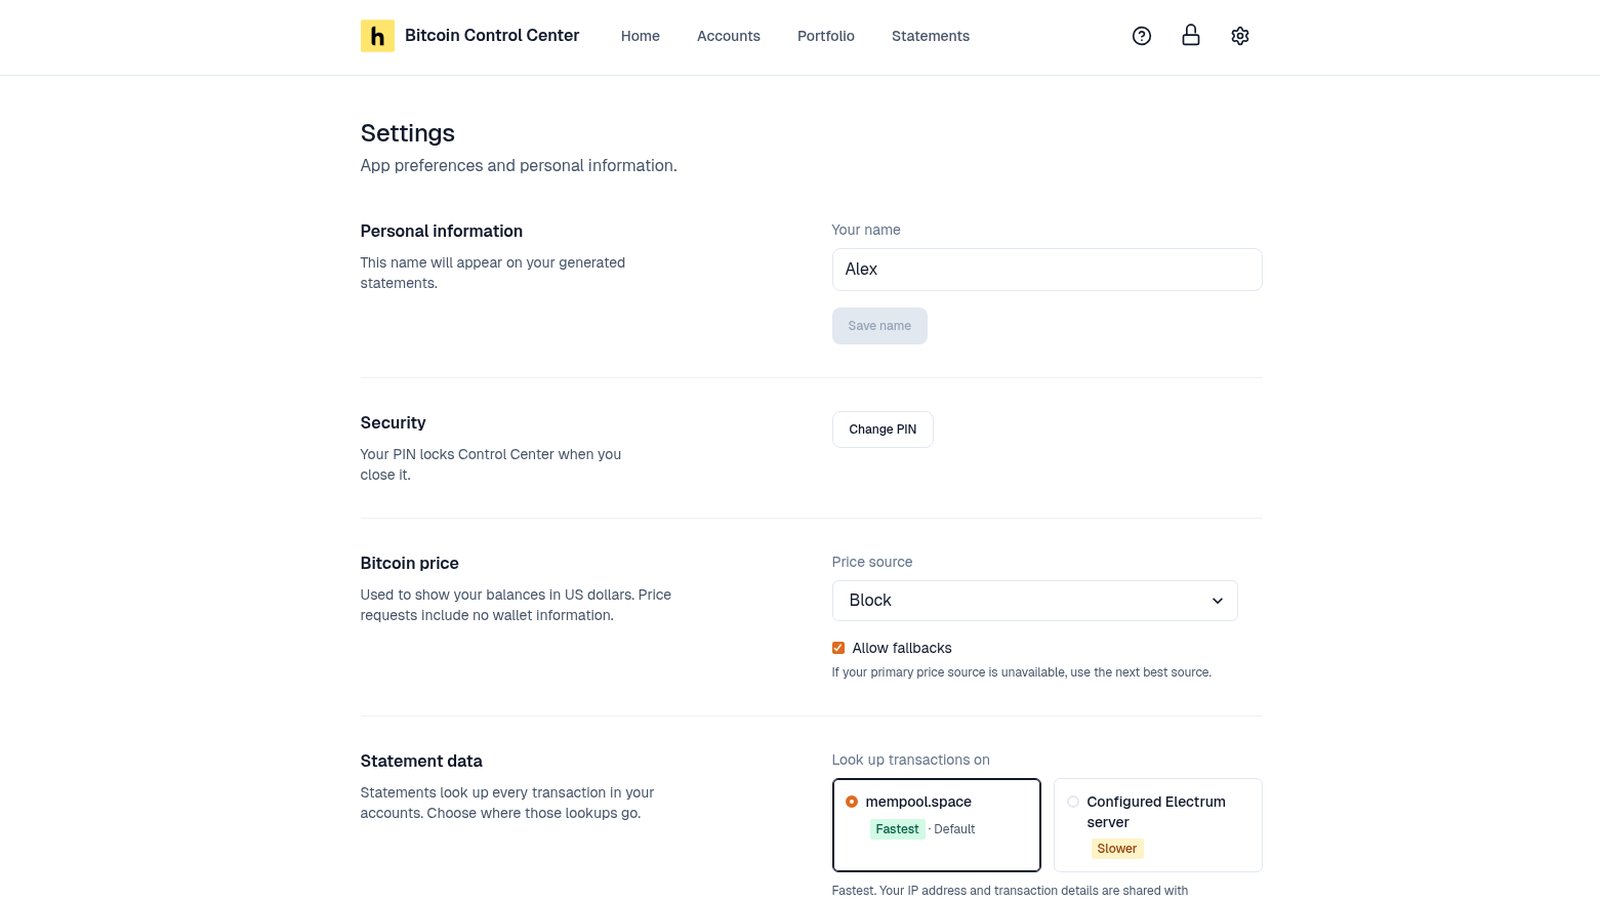
Your name on statements.